
Choosing your favorite vegetable varieties is part of the fun of having your own garden. If you grow your own, you're not limited by the selections found at your local nursery. It's a fun way to experiment each season and improve your diversity as a gardener. If you’re a beginner, we suggest starting your garden from mostly transplants for your first few years but if you’re ready to grow everything from seed…
Let's break down what you'll need to get started!
Seeds
DUH! If you're going to start your garden from seeds, you need SEEDS! When choosing seed varieties pay close attention to the ideal growing conditions of the varieties you choose.
Ex: you live in an area that gets very hot and tends to have cyclical drought... try to choose a variety that says "heat tolerant" versus one that depends on consistently wet soil conditions or cool temperatures.
Also, diversity is key! Try to pick a good mix of heirloom as well as hybrid varieties for your garden. Hybrids are not GMO. They have been cross bred over time to be more resistant to pests or resist diseases. Heirlooms are fun (and you should grow some), but it's good to hedge your bet with a diverse mix of choices.
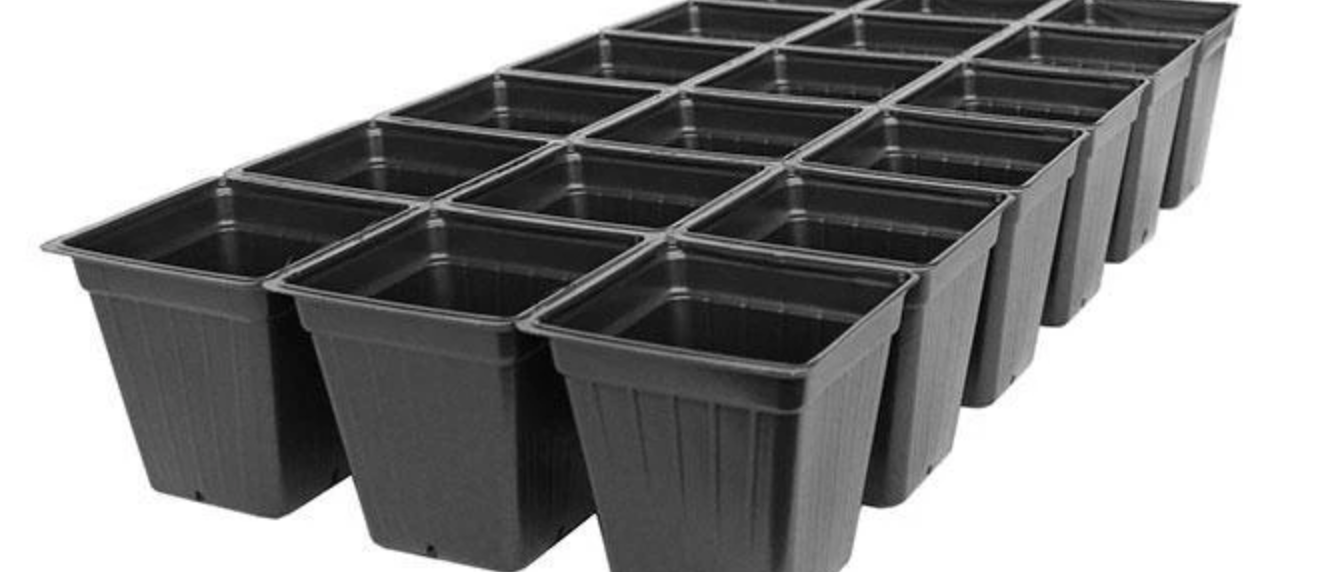
4” pots
Seeding Trays or Containers
Commercial nurseries typically start with "thumbnail" sized trays to start their seeds. They'll plant 2 or 3 seeds in each very small "cell" of the planting tray for the germination stage of growth. They do this to maximize production. After a few weeks, the nursery will "upsize" the sprouts and replant them into bigger containers for sale (like the ones you'd see at your local nursery). To simplify the process (and skip this tedious step), I would suggest you go ahead and plant your seeds directly into the size pot that is best suited for the plant you chose. *Make sure the pots have drain holes in the bottom*
Examples:
Tomatoes, Peppers, Zucchini, Eggplant, Squash (plant 2-3 seeds in each 4" pot)
Life Hack: Most local nurseries will have extra plant trays that they don't mind giving away for free.. just ask if they have extra trays and / or 4" plastic pots (you might get lucky).

Almost any Organic brand will do..
Planting Mix
There are lots of options to choose from for your seed-starting soil mixture. Most local nurseries sell "seed starting soil" in bags. This will be your simplest option. If you can't find that particular mixture, almost any light-weight potting soil will do. You don't need fertilizer to start seeds! They germinate and begin to grow on their own if the temperature and moisture are right. Try to pick a mix that holds moisture well (as you'll be watering these seeds quite often).

Lights or the Sun
Energy for our young seedlings
You have 2 options here.
1) Invest in a light setup that has "full spectrum" bulbs. Seeds and young sprouts can handle 16-18 hours per day. You can set a timer for the lights to turn on and off or control the system manually.
2) Set up your trays in a South-Facing window inside your house (if you live in the Northern Hemisphere). The temperature of your house will likely stay between 60 and 70 degrees Fahrenheit if you have environmental controls. That's a good range for young seedlings (though, they can handle a bit warmer as well). Your seeds won't grow quite as fast as with the lights setup, but if you start early enough, it won't matter.
Follow the instructions
Read your seed packs and plant the seeds according to the instructions for Depth. How deep you plant the seeds is crucial to their germination. Too deep and they'll likely be too cold to germinate. Too shallow and they might burn up with the heat. Soak your seeds overnight for improved germination as well if you like (though, I've never had a problem directly seeding them from the package).

Greenhouse is optional
Other advice...
1) Check on your seeds every day. The smaller the pot, the more often it will need water. The more light you give the young plants, the more water they'll need.
2) Hardening! The best way to be sure your plants are ready to be transplanted outside is to give them small tastes of what’s to come. “Harden” your plants by placing them in a controlled environment outside during the day so they can experience some wind and sun. Move the plants back inside over night. That way, they’ll have stronger stems and be ready on the day you decide to plant them.
3) Thinning. Make sure you "thin" your seeds to the right spacing AFTER you plant them in the garden. About two weeks after you transplant (ex: you planted 3 tomato seeds in a 4" pot) you need to pick the strongest of the 3 plants and cut out the 2 weaker ones to be sure it has the space it needs for the season.
That's it!
You're on your way to a garden that you seeded all by yourself!